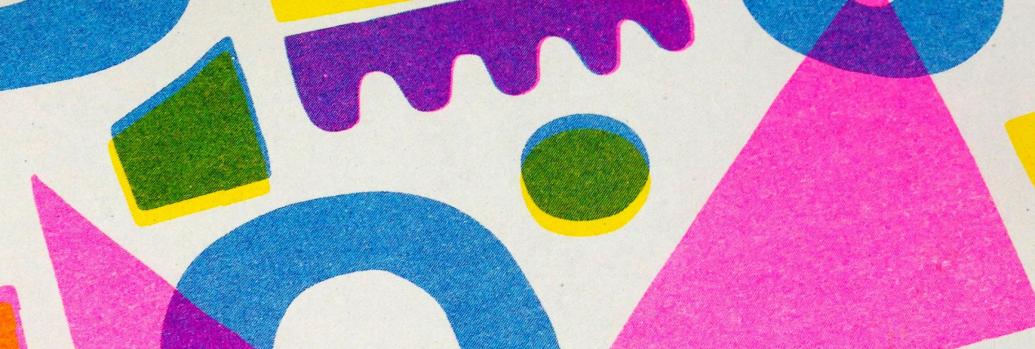
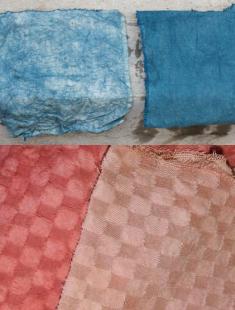
From what I've learned (I met some people in their riso printing studio the other day and learned the process and made some test prints), what can be done on risograph can be done on the regular photo service store printers, so I don't know if riso is that valuable.
The guys at the studio make their money from medium-sized runs (between 50 and a thousand or two) because its most cost effective than a photo studio but less so than (i forget the word but the machines used for bigger print jobs).
one thing is you have to do runs with riso, generally of 50 or more.
riso printers look like regular photocopy printers. there are four color drums (pink, blue, yellow, black). only one drum is in the machine at a time. you do your run with that color, then swap the color drum and print that color on the same pages. sometimes the color from one drum is still there for the next pages, so it can leave bands of color across the print (unfortunately). also, the first prints are less evenly colored (and darker generally) than the ones that are printed later on. The prints dont line up exactly. they can be adjusted i guess, somewhat like a lithograph machine, but i think less exactly. so sometimes your colors wont be lined up.

to make other colors, two or more colors are mixed. the effect is good, though. Yellow and pink can make a bright, even orange.
The machine can add textures. There are two options. One is 'Screen tone' which is like dots like in Archie comics, and you can control the size of the dots (and spacing therefore) and the angle of the dots. The other option is 'grain touch' which is a patternless color fill that can look like charcoal rub when its not applied strongly.
The maximum size the machine can do is 11x17.
In order to prepare images to print, the images must be separated into the 4 colors (which each are saved as a greyscale image) to print. The four separate images are printed separately on the same page. One way to prepare these is to use Photoshop and convert the colors to CYNB. This automatically makes four color layers in (i forget the name but one of the) Photoshop window panes. Each of these can be printed (I forget if they have to be converted to greyscale first or if they can just be printed). Another option is to separate the four color phases of your print job into images and save them as a pdf).
Price for 50 prints (4 colors) on 11x7 carta bond 115g paper (fairly thick white paper) is (the equivalent of) $10usd (20 cents each).
